
Do-It-Yourself Pavement Installation: A Comprehensive Guide
While renovating your home, you may be advised to leave specific tasks to professionals. However, if you’re comfortable following a guide and don’t mind getting your hands dirty, you can install your pavement yourself. You can save money by tackling the project independently with the right tools and materials. Here, we provide a step-by-step guide to proper pavement installation.

-
Select the Ideal Paver
Choosing suitable paver material is crucial for enhancing curb appeal and minimizing the need for frequent pavement reconstruction. Opt for a material that can withstand harsh weather conditions and constant traffic. You can choose from clay, concrete, or flagstone pavers.
Clay pavers come in various colors, shapes, and textures and are suitable for driveways, sidewalks, and pool surroundings. However, they tend to be fragile and require more maintenance. Flagstone pavers can be shaped to your preference and used for gardens, patios, or pool decks. Concrete pavers are long-lasting, versatile, and suitable for various applications, offering easy maintenance and resistance to harsh weather conditions.
-
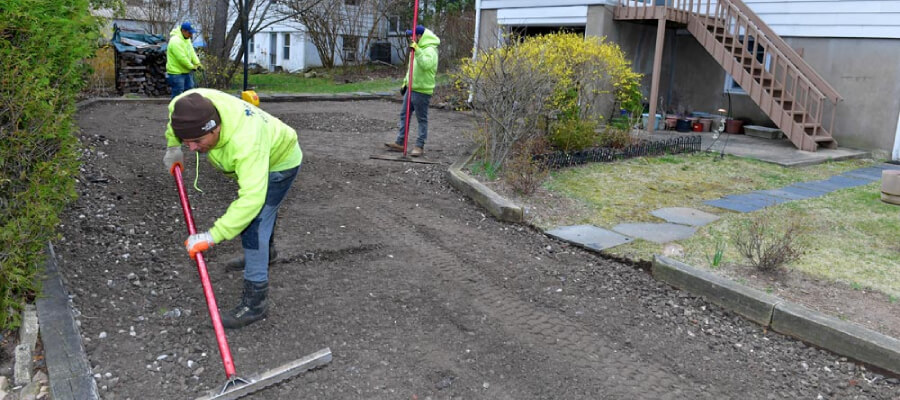
Prepare the Ground
Proper ground preparation is essential for a successful paving project. The preparation process differs depending on the paver material. For example, clay pavers require a different ground depth than gravel pavement. Inadequate ground preparation can result in potholes, ruts, loose bricks, or sagging pavement.
Dig up the area, remove any loose plant materials, and compact the ground to prevent the pavement from sinking over time. Ensure the earth is inclined so water flows away from your home.
-
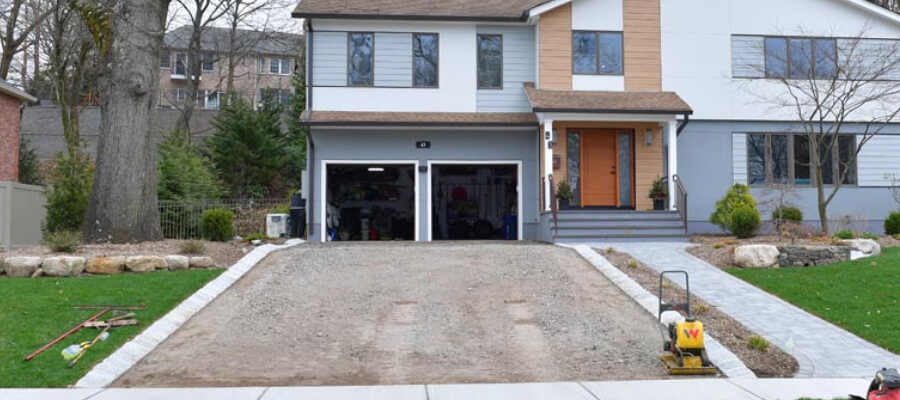
Lay the Base Material and Pavers
Different pavers need different base materials. A sand base is sufficient for brick tiles, while flagstones require a 10 cm thick cement bed. Ensure the ground is compact to prevent pavers from sinking. However, do not compact the base material itself. Sometimes, you may need to use a geotextile to stabilize the sub-base.
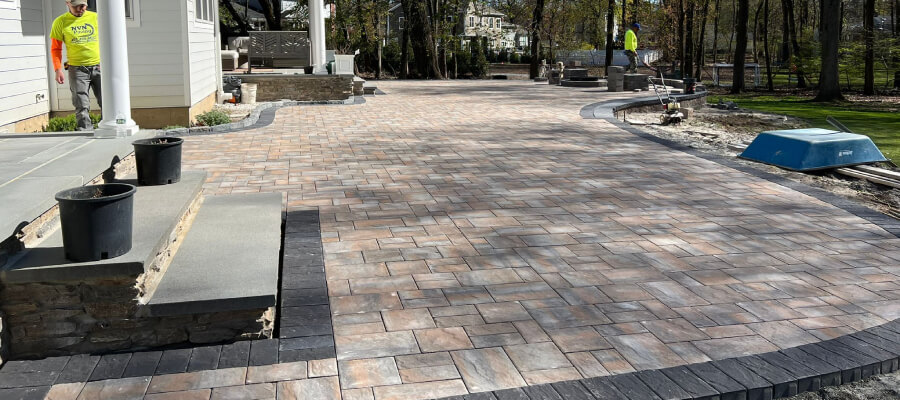
When laying the pavers, choose a pattern that appeals to you. Place the pavers as closely as possible for a stable and firm finish. Use a screwdriver to measure the distance between tiles and maintain a neat appearance during installation.
-
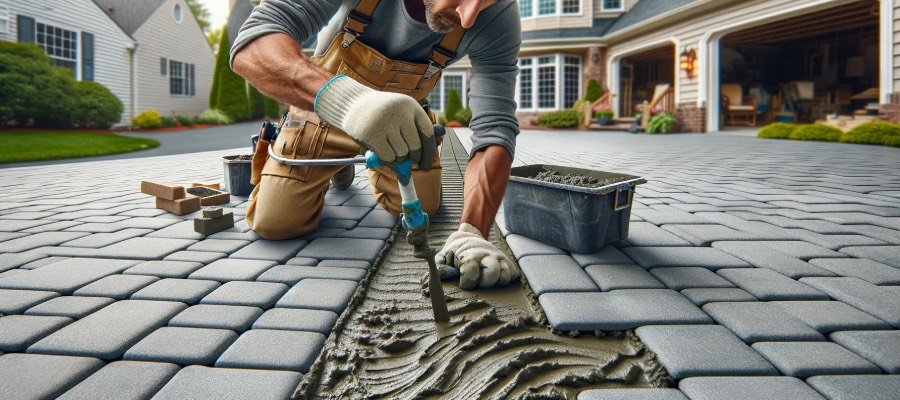
Grout the Pavers
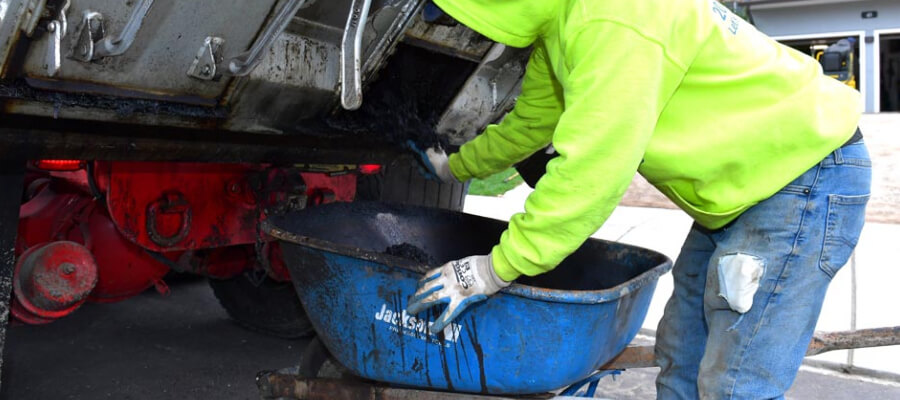
Grouting locks the pavers in place. For most materials, use a dry grout mixture of cement and sand. Pour the mixture onto the joints to fill them. For commercial pavements or parking lots, paint and mark the area for easier use. Finally, apply a seal coating to protect the pavement from the effects of weather changes in your area.
Pavement installation is not as daunting as it may seem. To prolong the life of your pavement, perform routine maintenance at least once a year. Remove weeds, repair cracks, seal the pavement, and repaint if necessary. Replace any broken tiles to prevent potholes from forming and damaging your vehicle’s wheels.
Now that you’ve got the basics for installing your pavement, let’s dive into a few extra tips and tricks to make the whole process even more of a breeze. Remember, it’s all about having fun while doing it yourself!
-
Grab a Buddy or Two
Although you can do this independently, having a friend or family member help you out can make the job go by faster and more enjoyable. Plus, they can double-check your work and lend a hand when things get a bit tricky.
-
Take Your Time
Hey, Rome wasn’t built in a day! When you’re working on your pavement project, could you not rush through it? Be patient and make sure everything is aligned correctly and leveled. Trust us; taking your time now will save you from headaches later.
-
Keep Safety in Mind
When working with tools and heavy materials, prioritizing safety is essential. Wear gloves, protective eyewear, and closed-toe shoes while working. And hey, don’t forget to take breaks when needed and stay hydrated, especially on those hot sunny days.

-
Customize Your Pavement
One of the most incredible things about DIY projects is the opportunity to put your personal touch on them. So, don’t be afraid to get creative with your pavement! Mix and match paver colors and shapes, or even create a unique pattern that’ll make your neighbors go, “Wow!”
-
Clean Up as You Go
We know leaving the mess for later is tempting, but trust us, cleaning up as you will make your life much easier. Sweep away debris, keep your tools organized, and dispose of waste properly. A tidy workspace is a happy workspace!
-
Celebrate Your Success
Once you’ve finished your pavement masterpiece, it’s time to celebrate! Grab a cold drink, snap a few pictures to show off your hard work, and enjoy the satisfaction of a well-done job. You’ve just made your home even more beautiful and did it all by yourself!
So there you have a bunch of handy tips to make your pavement installation project a total success. Just remember to have fun, stay safe, and don’t be afraid to get your hands dirty. Happy paving!